Mongodb log parser and viewer UI
A Logdy MongoDB logs viewer is a tool helping users view, analyze, and manage logs generated by MongoDB. These logs typically contain valuable information about the operations and activities happening within a MongoDB deployment, including errors, warnings, performance metrics, and more.
Here are some common features you might find in a Logdy MongoDB log viewer useful:
- Log Parsing: The viewer can parse MongoDB log files to extract relevant information such as timestamps, log levels, error messages, and stack traces. Search and Filtering: Users can search for specific log entries based on keywords, timestamps, log levels, or other criteria. Filtering options allow users to focus on specific types of log messages or time ranges.
- Log filtering: The viewer can generate filters based on the content of the logs, which you can use easily filter the content with a few clicks.
- Export and Reporting: Users can export log data or generate reports for further analysis or auditing purposes. This feature is particularly useful for compliance requirements or troubleshooting investigations.
- Real-time Monitoring: Some log viewers offer real-time monitoring capabilities, continuously streaming log data as it's generated by MongoDB. This allows administrators to react promptly to issues or abnormalities as they occur.
Install using script
The command below will download the latest release and add the executable to your system's PATH. You can also use it to update Logdy.
$ curl https://logdy.dev/install.sh | shDownload reporting
We're tracking the number of downloads by sending an empty request to https://notify.logdy.dev/download which exposes the IP of the machine you're installing Logdy on. If you wish no to do it, use the other install script which skips the reporting.
$ curl https://logdy.dev/install-silent.sh | shInstall with Homebrew (MacOS)
On MacOS you can use homebrew to install Logdy.
$ brew install logdyDownload precompiled binary
Enter release page on Github and select recent release. Download a precompiled binary.
# For Linux (x86)
wget https://github.com/logdyhq/logdy-core/releases/download/v0.17.0/logdy_linux_amd64
# For MacOS (ARM)
wget https://github.com/logdyhq/logdy-core/releases/download/v0.17.0/logdy_darwin_arm64
# Add Logdy to PATH: logdy.dev/docs/how-tos#how-to-add-logdy-to-path
More compliation target
You can find more precompiled libraries on the Github release page. We always always build for the following OS and architecture: linux/amd64 windows/386 windows/amd64 darwin/amd64 darwin/arm64 linux/arm64
(optional) Adjust MongoDB logging settings
Depending on your needs, you can adjust MongoDB's instance settings to account for the types and severity of logs you are interested in.
Run Logdy with a tail on MongoDb logs
$ tail -f /var/log/mongod.log | logdyEnter Logdy web UI
Visit the address provided in the console output after starting Logdy, by default it should be http://localhost:8080
Build a custom parser for MongoDb logs
You can refer to the official docs on MongoDB website. We'll focus on accessing logs in JSON format written to a file.
Starting in MongoDB 4.4, mongod / mongos instances output all log messages in structured JSON format.
The below is a format of JSON logs in MongoDB starting from 4.4 version.
{
  "t": <Datetime>, // timestamp
  "s": <String>, // severity
  "c": <String>, // component
  "id": <Integer>, // unique identifier
  "ctx": <String>, // context
  "msg": <String>, // message body
  "attr": <Object> // additional attributes (optional)
  "tags": <Array of strings> // tags (optional)
  "truncated": <Object> // truncation info (if truncated)
  "size": <Object> // original size of entry (if truncated)
}
So far so good, looks like MongoDB is already producing logs in a format we can very easily consume. Since it's JSON, we dont have to build a custom parser of a raw format. We can just head directly to setting up columns for presentation.
Display columns and filters
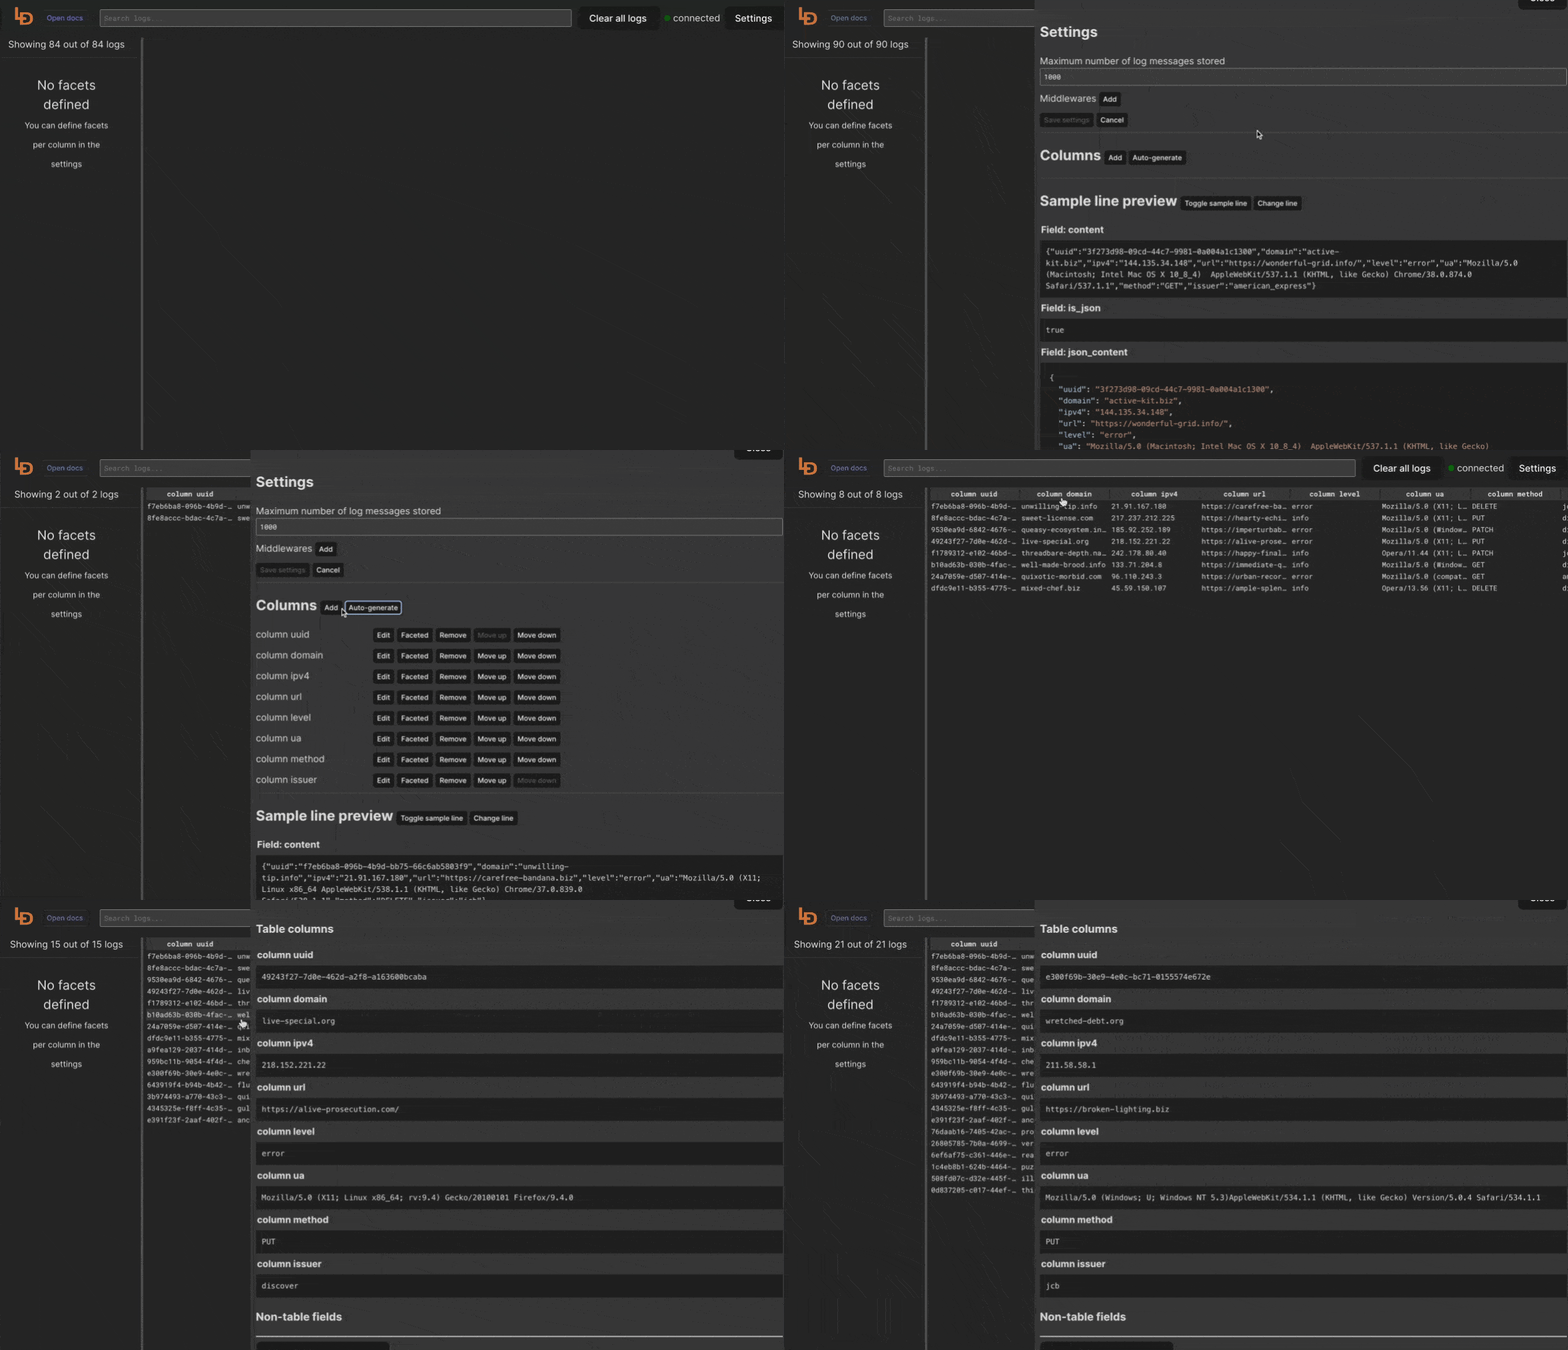
Logdy makes parsing and column selection a breeze. Use a built in "autogenerate" feature to generate columns based on JSON object present. Then you can make any adjustments and customizations. Based on the columns you can also emit facets or use another great feature to generate those automatically.
With a JSON object in place, you can use Auto-generated columns together with Faceted columns.

